TV Mounting in PA & NJ
Mounting a TV on the wall can give your home theater a sleek, modern look and free up space. Here’s a step-by-step guide to help you mount your TV safely and securely.
5 Steps To Mounting A TV
Installing a home theater system can greatly enhance your movie watching, gaming, and music experiences. Here’s a general guide to help you with the installation process, whether you’re installing a basic setup or a more complex one.
1. Choose the Right Mount
There are several types of TV mounts to choose from:
Fixed Mount:
Keeps the TV flat against the wall with no adjustment.
Tilting Mount:
Allows you to tilt the TV up or down.
Full-Motion Mount:
Offers the ability to swivel, tilt, and extend the TV, giving you flexibility in positioning.
2. Choose the Right Spot
Height:
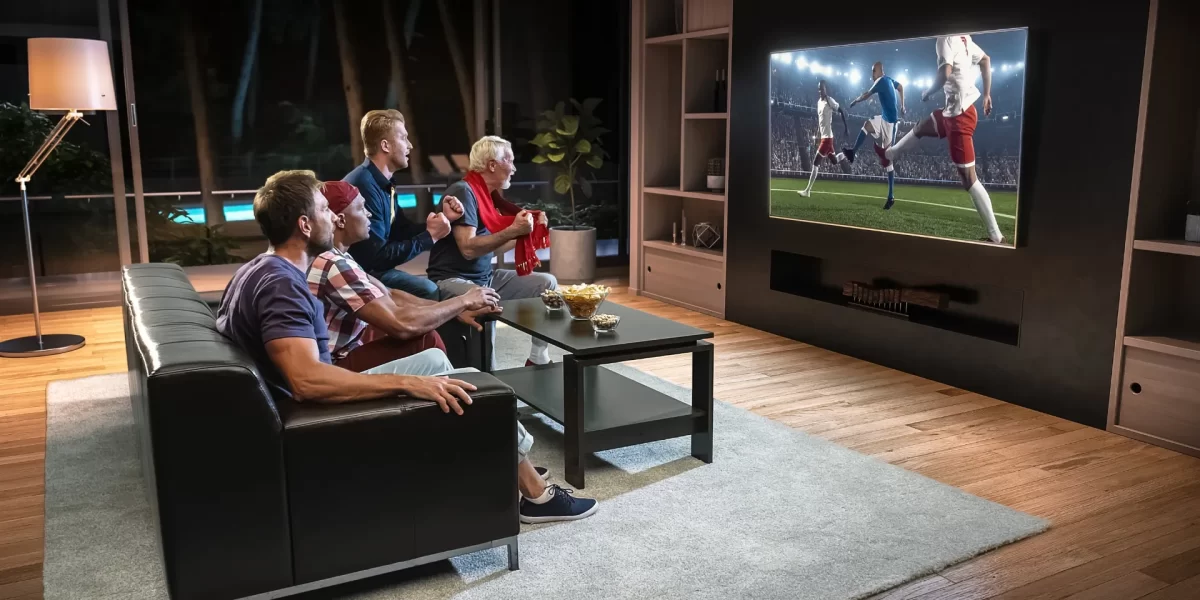
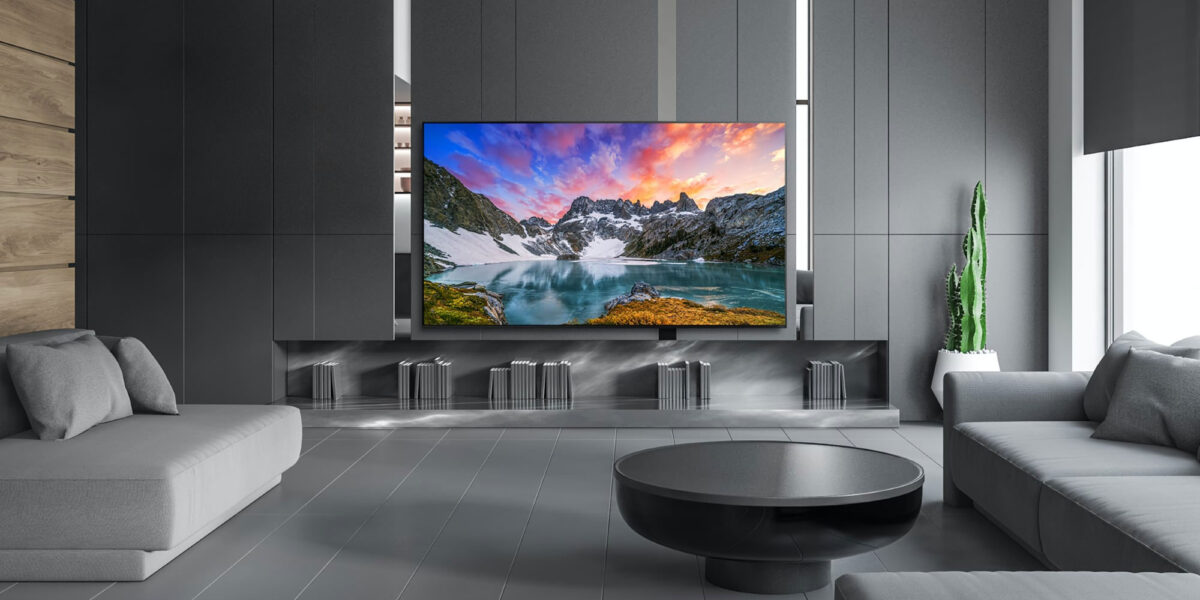
Typically, the TV should be at eye level when you’re seated. A good general guideline is to place the center of the screen about 42-48 inches from the floor, depending on your seating height.
Viewing Distance:
Make sure there’s enough space between your seating area and the TV for optimal viewing. As mentioned earlier, aim for a distance of 1.5 to 2.5 times the TV’s diagonal size for HD content.
Cable Management:
Ensure there are outlets nearby for power and other devices (like a streaming box or Blu-ray player), or plan to use an extension cord.
3. Find the Wall Studs
The most important part of mounting a TV is ensuring it’s securely attached to the wall. You need to locate the studs behind the drywall since they provide the strength needed to support the TV.
Use a stud finder to locate the studs. Move the stud finder horizontally across the wall and mark the edges of each stud with a pencil.
Make sure the TV mount will be positioned between two studs. Ideally, your mount should anchor into at least two studs, though some heavy-duty mounts can also support more.
4. Attach the Mounting Brackets to the TV
Lay your TV face-down on a soft surface (like a blanket or cushion) to avoid scratching the screen.
Attach the mounting arms (the brackets) to the back of the TV using the screws and washers provided with the TV mount.
Ensure the screws are tightened, but avoid overtightening, which could damage the TV’s frame.
5. Mount the TV
With the help of a friend or a second person (this is heavy and tricky to do alone), lift the TV and hang the mounting arms onto the wall bracket. Most mounts will either have a locking mechanism or will require you to screw the TV into place for added security.
If using a full-motion mount, you may need to extend or adjust the mount arms to position the TV exactly where you want it.
Finally Enjoy Your Setup
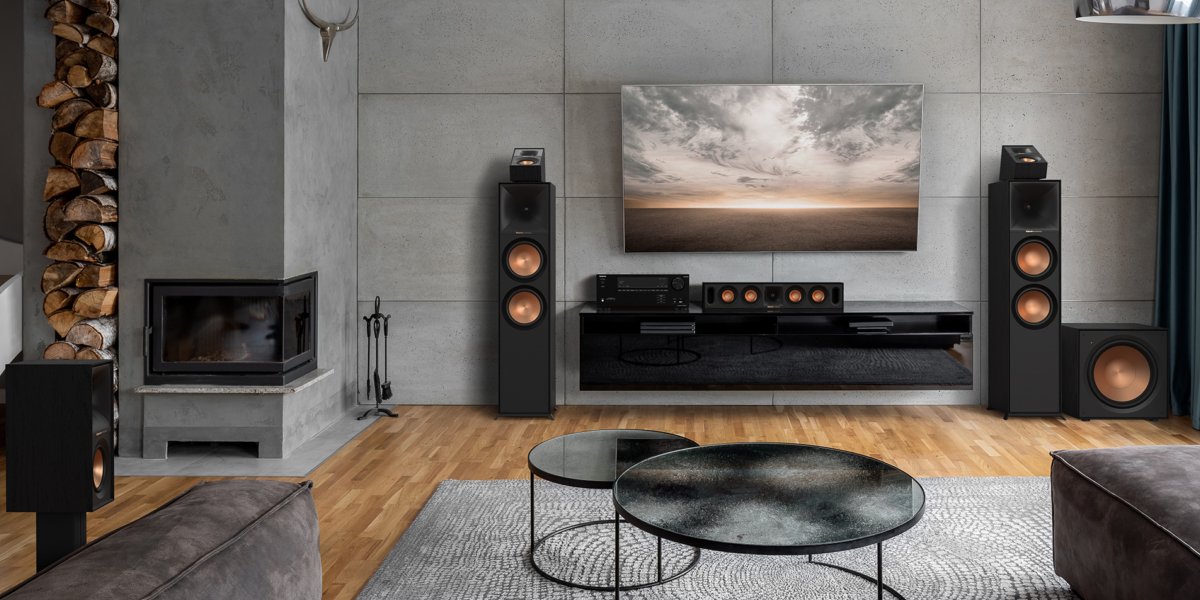
Once everything is secure, you can hook up your devices (streaming box, Blu-ray player, etc.) and enjoy your newly mounted TV! Test the mount by gently pushing on the TV to ensure it’s firmly attached. Make sure there’s enough room around the TV for ventilation, and that it’s not too close to other objects that could block airflow.
Visit Our State of the Art Home Audio Store & Home Theater Room
Founded in 1958, Audiolab is a premier retailer and installer of high-end home theater, home audio systems, and home automation products. Shop your top brands receivers, amplifiers & speakers like Denon, JBL, Revel & more. Audiolab is a full service sales and installation company. Call us for expert advice and try out some of the world’s best audio brands.


